Your dog is a very important part of your family and has always been.
From dog food and medicine to exceptional health treatment, you make sure that she (or he) gets the absolute best.
![]()
Although the one thing that might be missing for your dog is good dog clothes. Try making your own exclusive models instead of simply ordering dog clothes off the shelf.
![]()
![]()
While you do not think dog clothes are a must, in the colder winter months, they do have a practical side and will keep your pet warm.
![]()
One of the largest pet care markets around, with countless quantities of doggy jackets, sweaters, and other clothes to select from, is the dog clothing industry. Many dog clothes are overpriced and not worth spending money on, although they can look cute. There are also alternative options to make clothes for your dog instead of purchasing dog products.
![]()
These free designs of dog clothes will teach you how to make sweaters, raincoats, bandanas, ties, skirts, and costumes, so that the best-dressed dog on the block is your pooch.
Stencil Size:
![]()
Instructions
1. Cut the Layers
Fold the exterior fabric into a double layer, matching the selvages. Place the pattern on the fold, following the marking, and cut out 1 piece.
Repeat with the lining fabric. If it is difficult to cut through two layers, open up the fabric, cut around one side of the pattern piece, then flip it over along the 'Place on fold' line to cut the other half.
Note: The fabric grain must be straight on the fold. Do this by measuring the distance of the selvage to the fold and keeping the distance even.
Optional: To add extra warmth to your dog's coat, cut a matching piece from batting, and quilt it to the outer fabric before sewing the layers together.
![]()
2. Pin and Sew the Layers
Pin the outer and inner pieces right sides together, aligning the edges. If you are using a vinyl fabric, use clips instead of pins, since straight pins will pierce the vinyl and ruin the waterproof qualities. If you do not have clips, pin parallel to the edge, within the seam allowance.
Stitch the layers together using a 3/8-inch seam allowance, leaving an area open for turning.
![]()
3. Turn and Topstitch the Coat
Clip all the curves and trim the corners to reduce bulk. Turn the dog coat right side out through the opening.
Poke the corners into shape and make sure all the seams are open. Press the seams if desired, making sure the iron is set to the correct temperature for the fabrics. You can also finger-press to flatten the edges.
Fold the seam allowance along the opening, clipping if needed. Pin the opening closed.
Using matching thread, topstitch the edges of the entire coat, sewing the opening closed at the same time.
![]()
4. Attach the Hook-and-Loop Tape
Cut two pieces of the hook tape (scratchy side) 2 1/2" long for the exterior tabs. Cut two pieces of the loop tape (soft side) 2 1/2" long for the lining tabs.
Pin or clip the tape pieces to the corresponding tabs on the dog coat as shown below.
Stitch the hook-and-loop tape in place, using thread that matches the outside of the coat.
![]()
5. Make It Extra Special
Your dog coat is all finished and ready for your precious pup to head out for a walk. Keep it as-is, or customize it with one of the options below.
- Sew on reflective strips so your dog is visible while walking at night or on rainy days.
- Embroider your dog's name on the back of the coat.
- Sew a little pocket on the coat and store your contact information inside.
- Stitch a cute tag into the seam for a fun detail.
![]()
Our Guarantee
We truly believe we make some of the most innovative products in the world, and we want to make sure we back that up with a risk-free ironclad 180-day guarantee.
![]()
If you don't have a positive experience for ANY reason, we will do WHATEVER it takes to make sure you are 100% satisfied with your purchase.
Buying items online can be a daunting task, so we want you to realize that there is absolute ZERO risk in buying something and trying it out. If you don't like it, no hard feelings we'll make it right.
We have 24/7/365 Ticket and Email Support. Please contact us if you need assistance.
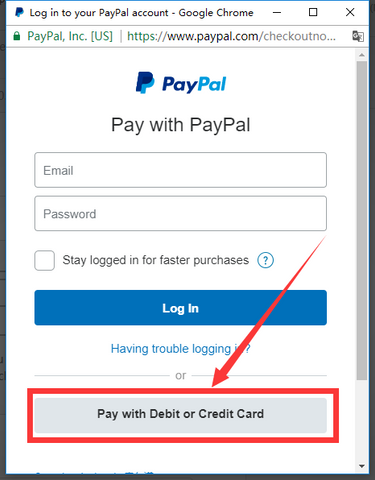
🔒Payment
PayPal is welcomed here. If you don't have a PayPal account, we accept all credit cards: just select 'PayPal' and click the 'Pay with Debit or Credit Card' button.